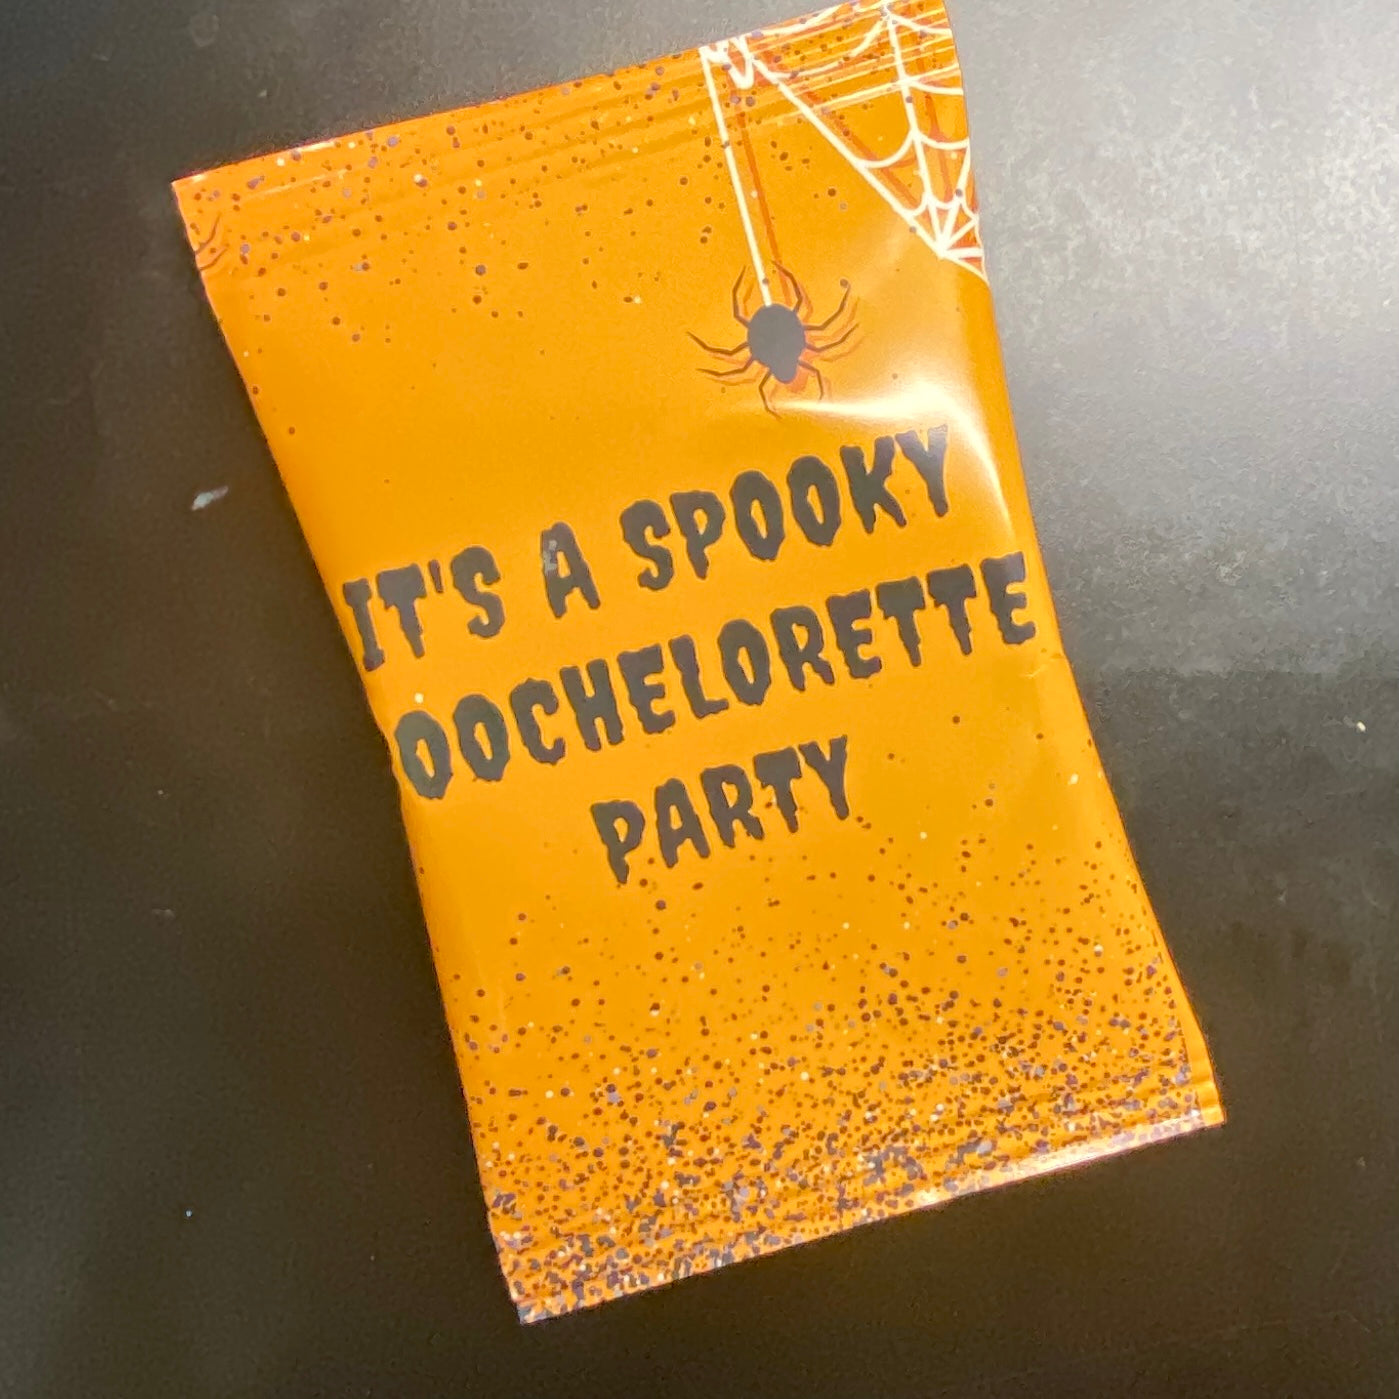
The first thing that comes to mind when I think of a honeymoon is sun, sand and the ocean. It's somewhere you get to experience something new with your partner. There are so many places in the world you can travel to for an unforgettable honeymoon, but why not do something different? If you're thinking about doing something at home for your honeymoon, here's a little DIY project for making a paper door hanger.
Subscribe HERE to receive otheir DIY wedding ideas and tutorials!
***Disclosure: Some of the links below are affiliate links, meaning at no additional cost to you, I will earn a commission if you click through and make a purchase.
What you will need

Cricut Machine
I have the Maker but this project is compatible for any member of the Cricut family.
Machine Mat
Light grip or Standard grip is recommended to keep paper from ripping during removal.
Printer
I have the HP Officejet 6962. The colors always come out vibrant and the HP Instant Ink feature is a must have! HP Instant Ink is an ink cartridge replacement service that auto ships fresh cartridges whenever I start to run low — keeping me from ever running out of ink or having to remember to purchase more. I’m only charged for the pages I print each month and plan start as low as $.99
Click HERE to get your first month of HP Instant Ink for FREE!
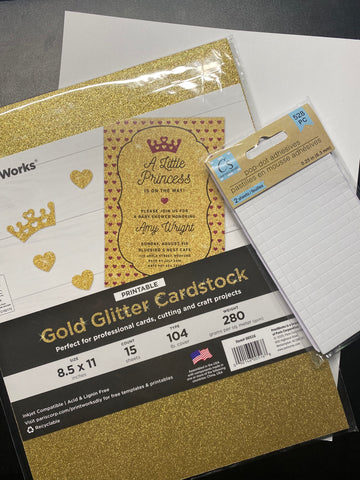
Foam Squares
The fam squares pictured have been difficult to come by lately but the mounting Squares also found at the Dollar Tree work perfect for this project!
Cardstock
I used both glitter and matte cardstock from Printworks for this project. I love that their glitter cardstock is printable and can be used with any Inkjet printer!
…And that's it!
How to create your own DIY Honeymoon Door Hanger
1. Design
I design all of my projects in Cricut Design Space (CDS). This particular project was inspired by Make Now's honeymoon door hanger which means a lot of the pieces were already pre-created. I used the "Dear John" font from Cricut and made the entire hanger 4.25" inches so that it would fit on one 8 1/2 x 11" piece of card stock.
I would recommend duplicating the top (white) layer and making it a score line then attaching to the lavender layer so you can have a guide when assembling.


2. Print-Then-Cut
Press "MAKE IT" in CDS and print the white layer on glitter cardstock. There's no need to "add bleed" since the image is a simple shape. Once the top layer has printed, place it on your standard grip mat and cut on the Cricut machine.

3. Apply Foam Dots
Be sure to add these to the back of the top layer so that none of the corners peek out when you adhere to the bottom layer. Be sure to cover the surface as evenly as possible and include foam dots on the slender piece close to the slit of the hanger.

4. Adhere Layers Together
Carefully place the top layer onto the bottom layer using the score lines to guide your placement.
5. Marvel at your work!
My thoughts on this DIY Honeymoon Door Hanger
This is a very easy project that can be done in no time at all. That means making multiples should be easy! If you have never used Cricut Design Space, then this is the perfect project to try it out on! I am looking forward to hearing what you think of this fun DIY door hanger, and I'd would love to see any projects of your own as well so be sure to tag @blueroombride in your creations!
I hope you've found this tutorial helpful. Leave me a comment if you have any questions and follow my profile on Cricut Design Space so you can try this yourself!


1 comment
The Cricut is a die-cutting machine for creating crafts of all sorts. Go to cricut.com/setup and check out the materials you can cut with your Cricut machine. For such a big investment, you cannot afford to lose your way while setting up Cricut. And that is why we have gathered the steps for you. From setting up the machine, setting up the cutting mat, cleaning the mat to downloading the design software, cricut.com/setup is the only answer.
https://cricutsetjoy.com/